So you have some old photos full of family history that you want to get digitized? Digitizing photos is easy-peasy! However, if you plan to digitize (or scan) a lot of photos all at once, it can be very time-consuming, as each photo will need to be scanned one at a time. An estimated time to scan and save a single photo would likely be anywhere from 3 - 5 minutes. Multiply that by however many photos you plan to scan, and that’s how long scanning will take. So if you just have one or a few photos that you would like to scan for now, this will be quick! If not, just know that it’s worth it to digitize all of your most important old photos so that you can have physical copies and backup digital copies.
Preserving your old photographs
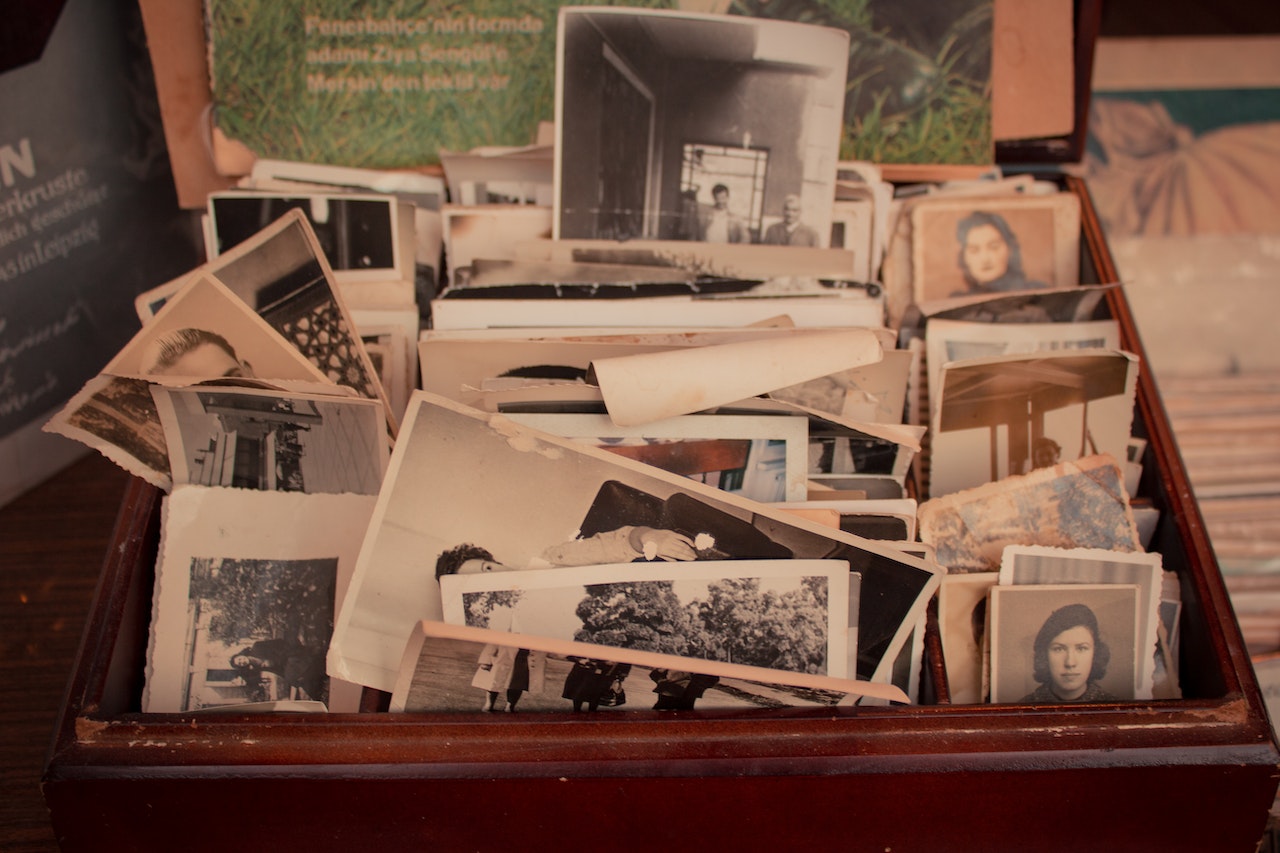 Always handle your physical prints with as much care as possible, especially the older they are. Oils from our skin can lead to print damage over time, so wearing gloves when handling them will help preserve the quality of your old prints. It’s recommended to store photos in archival boxes for the best preservation; however, even if your photos are stored in a shoebox somewhere, one of the most important things about storage is to make sure your prints are stored flat in a cool, dry environment, and avoiding letting your photos lay or display in direct sunlight to deter fading or discoloration over time. And while all of these things are the recommended protocols for keeping your photos in their best condition, don’t let this trump the very reason you’ve held onto these photos in the first place: to enjoy and reminisce! So don’t feel the need to keep them under lock and key all the time, never to be seen again. One of the best ways to continue enjoying your photos and capture them in their current state (before potential future wear and tear occur) is to scan old photos.
Selecting your images
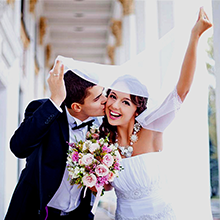
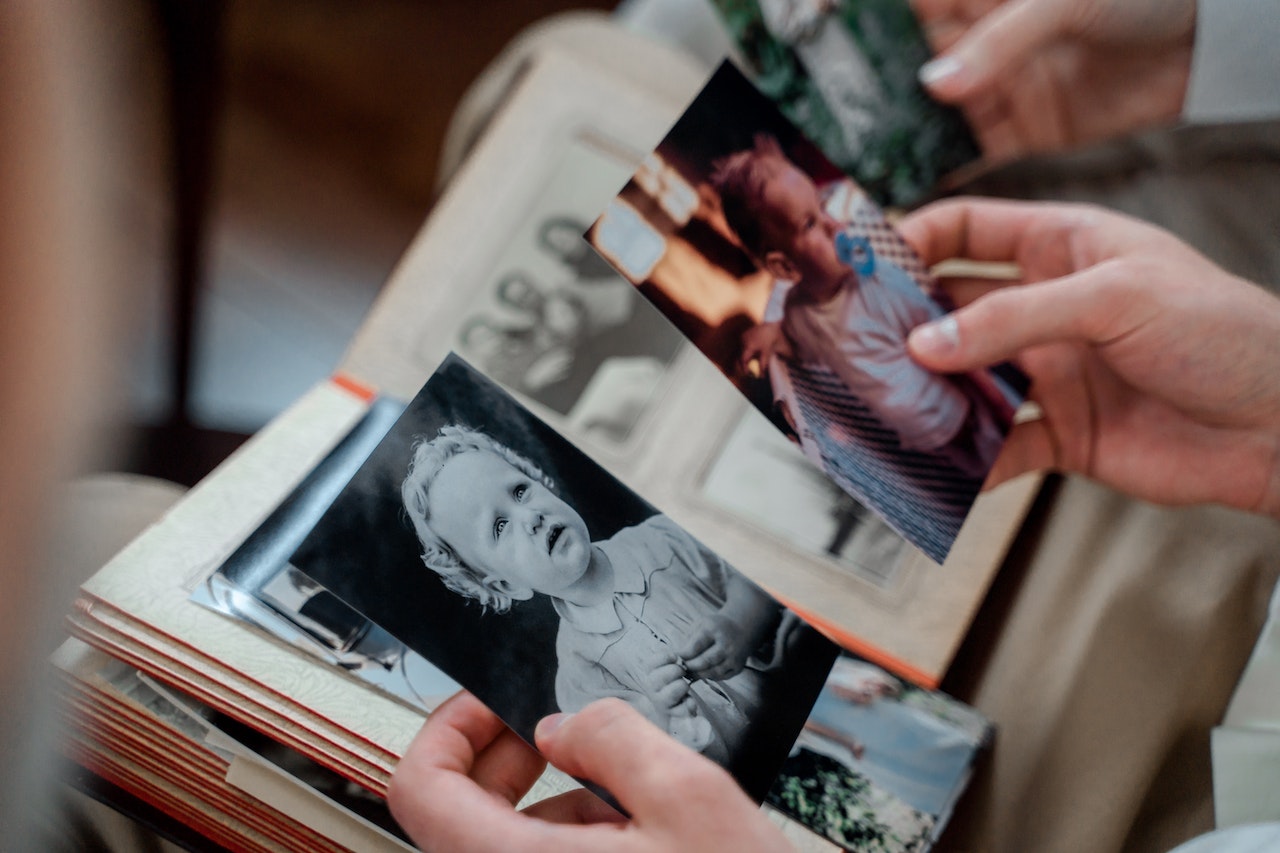 When it comes time for sorting through your photo collection to figure out which images to scan, consider the images that are absolutely, undeniably, the most important first. Milestone photos, such as family wedding photos or school photos, might fall into that category. Rare photos of family members from long ago will also likely fall into this category.
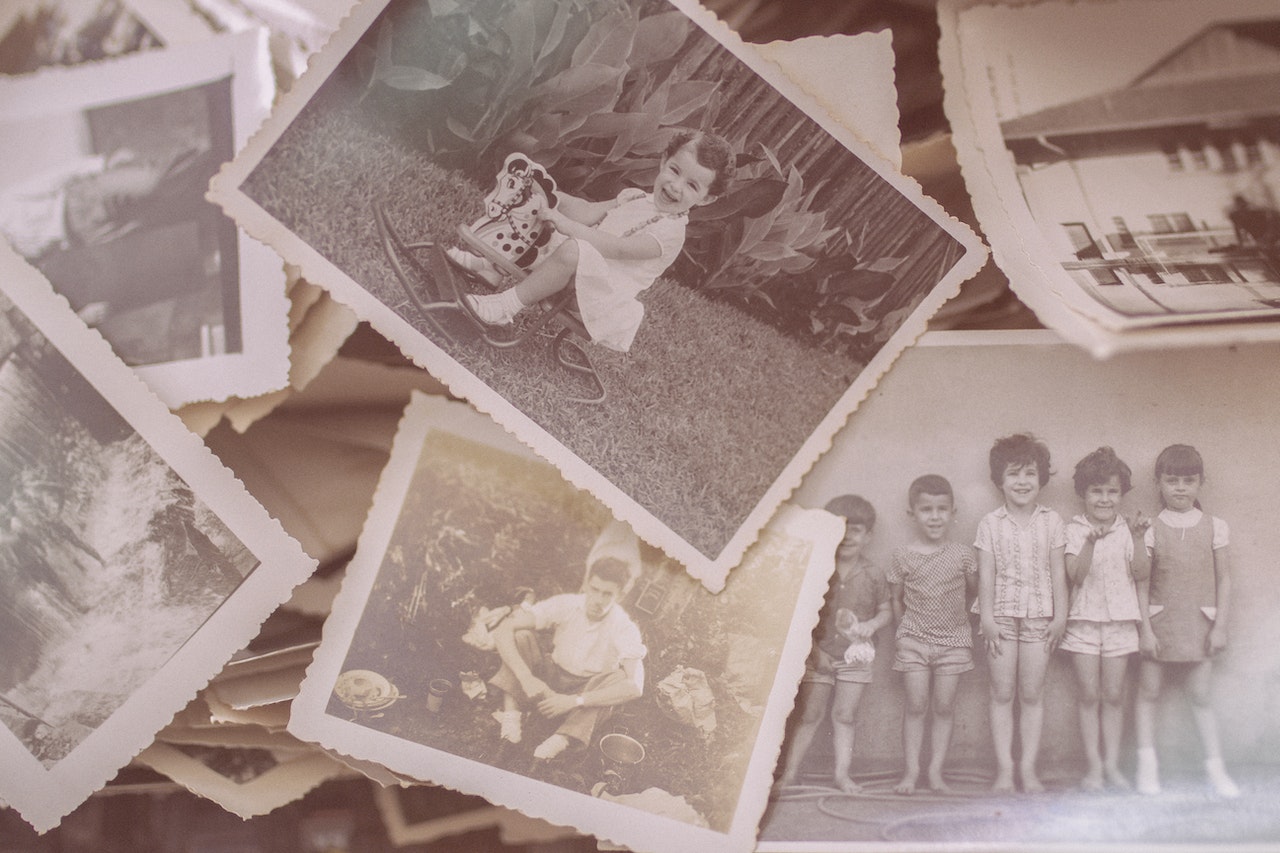
If a particular photo is so damaged that it’s difficult to see some of the most important components (i.e. faces), consider passing and selecting something more intact instead. In addition, if you have multiple different versions of family photos taken of the same people in the same place at roughly the same time, you might not want to scan every single version of those photos, and instead, select the best or most meaningful one of the bunch.
Preparing your photos to digitize
 If your photo is in a frame or behind plastic in a photo album, ensure to take it out of the frame before digitizing. You’ll want the photo in its most natural state, without glass or a plastic cover in front of it. Dust each photo with a microfiber cloth right before digitizing to avoid dust particles on your physical print becoming a part of your digital copy (dust tends to accumulate quickly). In addition, if you plan to use a photo scanner, dust off the scanning bed, as well.
Photographing vs. Scanning
 When it comes to taking a photo of your photo vs. scanning your photo, we’re always going to tell you that scanning is better (because it is). Scanning a photo will result in a higher quality digital image than taking a photo with a digital camera (i.e. your iphone). Though photographing your old photos might be a little easier than scanning your photos, your photos are precious and deserve the best quality when it comes to saving them as digital copies. However, we can’t deny you at least a “how-to” in taking the best quality image possible when choosing the option to photograph your print, because how you photograph your print can still make a big difference between a decent-quality digital file and a poor-quality digital file!
Photographing
Step 1: Always begin by locating natural light or professional studio light to use as your light source. Though you should use natural light for taking the photo, avoid direct sunlight, as allowing the sun to hit the photo directly can cause a major glare and an off hue (and like we mentioned previously, direct sunlight is not good when it comes to preserving old photos). In addition, avoid using camera flash, as this will also cause a major glare on your photo.
Step 2: For photos that have any bent or curled edges, flatten the edges as best you can. Photographing a bent or curled photo will result in a digital copy of a bent/curled photo, and unfortunately, that cannot be corrected digitally. To keep a bent/curled photo flat, you can use removable sticky tack on the back of each corner of your photo to attach to a tabletop or wall, or you can place a book or other straight-edge object on the sides of your photo to hold it flat.
Step 3: Use the best camera possible when photographing, such as one of the newer iphone/smart-phone cameras or a professional DSLR camera. Photograph as close to the photo as possible and align the sides of your photo as closely to your camera’s frame as possible. Photographing your photo too far away will lessen the quality, and photographing at an angle instead of straight-on will result in a distorted digital copy.
Step 4: Finally, crop your image digitally to cut out anything that may have snuck into your photograph aside from the photo itself, such as the table behind your photo or the side of the book you used to keep your image flat.
There are also photo scanning apps that can be used when photographing with a smartphone; however, these apps will still result in a similar quality digital copy as taking the photo directly from your phone’s camera. A photo scanning app will not provide the same high-quality results as using a real photo scanner. And with that said, even though it may be more time-consuming, we truly recommend the next process over photographing.
Scanning (Recommended)
Step 1: If you can fit more than one photo at a time on your flatbed scanner, go for it! This will save you more time, especially if you have a lot of photos to scan. Just make sure that your photos don’t overlap. Otherwise, if you prefer to scan one photo at a time, you can simply lay down your first photo on the scanning bed and proceed on.
Step 2: When you get ready to scan your photo(s), set your scanner to your preferred DPI setting. If you’re not familiar, this setting has to do with the quality of your scanned image. The higher the DPI, the higher the quality of the scan will be; however, depending on how you plan to use your photos will depend on the DPI setting to use. If your plan is to use them for social media, a website, or for a digital slideshow, 300 DPI is a high enough setting to produce high-quality digital scans. This setting will also be sufficient quality for a small to semi-large sized print (if you do eventually decide to make prints out of the scans). As a rule of thumb, 300 - 600 DPI is sufficient when scanning old photos. You might think that using the highest DPI setting would be best, but keep in mind that the higher your DPI setting, the more storage space your digital scan will take up on your device (and the more time your scanner will take to scan the image).
Step 3: Choose the file type to save your scan as. We recommend saving your scans as .jpg or .png files. Other file options you might see in your scan settings are .pdf and .tiff files. While .pdf and .tiff files might allow for a slightly higher quality digital image than a .jpg or .png, both of these file types will take up more space on your device and will be more difficult to share digitally and print. Social media makes it difficult to share .pdf and .tiff files, and most printing companies and social media accept and make it easy to upload .jpg and .png files.
Step 4: After your scan is complete, you’ll want to crop your new digital file. There will likely be a lot of white space around your image; crop that out so that your saved file is your image only. And if you ended up scanning more than one image at once, crop each image out from the scan one at a time and save it as its own separate image file.
Note: If you don’t have a photo scanner of your own or you just simply don’t want to take the time to photo scan at home, you can hire a professional photo scanning service instead. Typing something into Google along the lines of “photo scanning service near me” should help you find a local scanner!
Save, and save again!
After all of the hard work and time you took to scan each of your old photos, you will definitely want to make sure you have extra backup when saving. Technology can be unpredictable, so save your photos to at least two different devices/areas. For example, save your photos onto an external hard drive and also save your photos onto an online cloud storage.
Touch-Ups
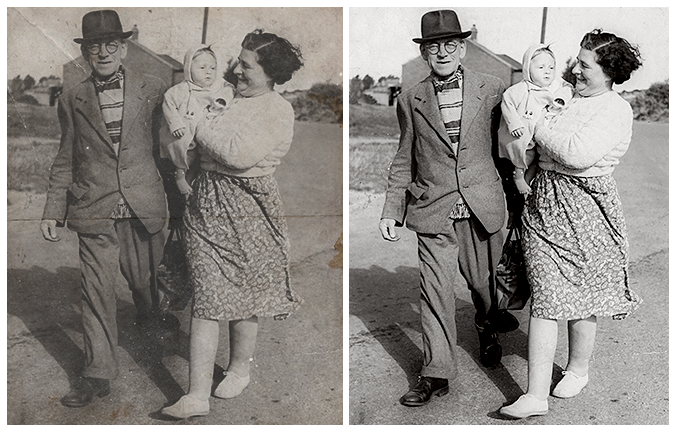 Even if you create the best scan possible for your image, there still may be components to the photo that simply need some post-scanning help. Your photo might need some advanced color correction, show a crease down the middle, or have a tear in the corner due to its age combined with how it was stored/handled through the years. If that’s the case, we can help you with that! When ordering a copy of your scanned image as a custom canvas print, you can choose from two different advanced levels of design services to edit your photo: Our SimpleENHANCE design service or our SimpleMAKEOVER design service. To discover which design service might be best for your photo, click here to read the details. Then when you’re ready to order, you can opt for the appropriate design service during the ordering process and leave a note for our art team, specifying any photo editing you would like!
Turning your old photos into custom canvas prints
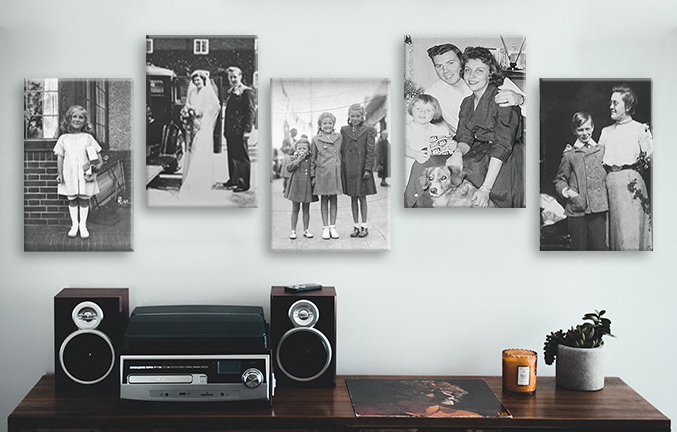 Following these steps, you can now turn your most special photos into prints for generations to come. Old photos turned into enlarged prints especially make for great gifts to family members and long-time friends. (If you created the perfect scan and don’t need us to do any editing, you can also turn your old photos into glossy tile prints or into a collage canvas print!) Let us help you enliven your old scanned photos into fresh new prints!
| GET STARTED |