Ahhh food. Besides being essential for sustaining the life of every living thing, it is also delicious, appealing, and often eye-catching. The appeal and eye-catchiness that food has in person can be wonderfully translated to a photograph if done correctly. However, a photograph of food can have the opposite effect if it's not photographed well.. I'm sure we've all seen a photo or two of some good food that had potential to be enticing, but it turned us away because of some not-so-great photos. Of course, in order to take good quality photos of food, you need to follow a few simple steps. Following our tips, below, the next time you photograph food can bring your food shots to the next level. This is for the foodies, the bakers, the chefs, the bloggers, and all of the food photographers out there!
Choose a Well Lit Location
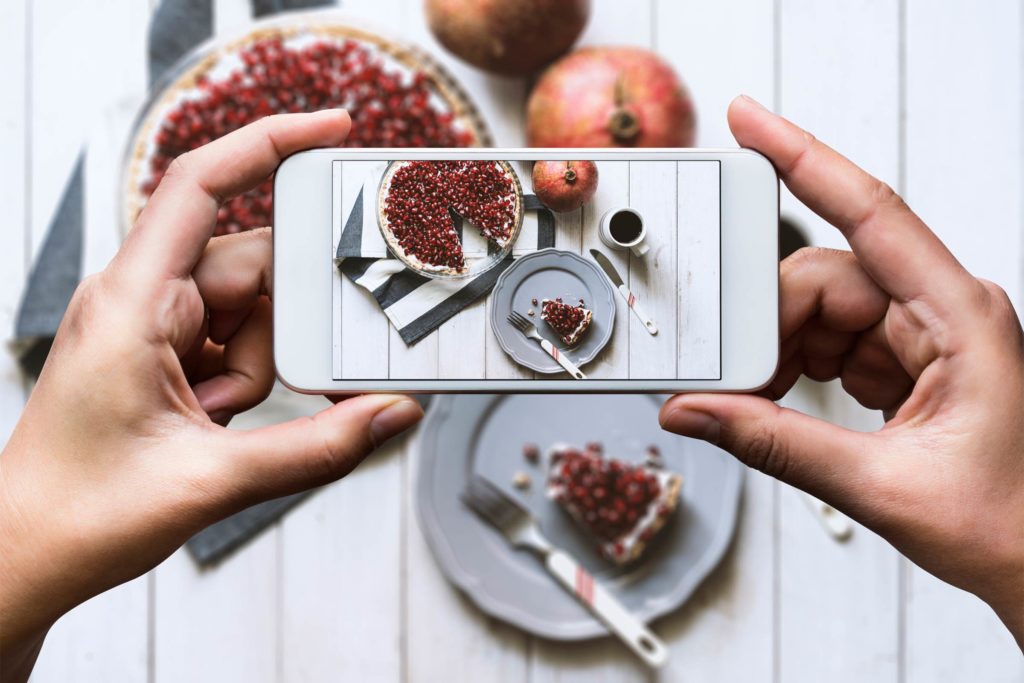
Lighting is crucial! It can make or break any photo. Have you ever seen a photo of a plate of food taken in a dim-lit room with direct camera flash and thought it looked appetizing?.... Us neither. You should always try to use natural light when shooting food and avoid shooting under an artificial light source. Open those curtains and blinds, and use that natural window light. Natural lighting brings out the vibrant colors in your food, while artificial lighting can cause the white balance in your images to be off, causing a yellow cast over your image. No matter the light source, make sure that it's not working against you. Stray away from direct sunlight. Taking your photos in direct sunlight can create harsh shadows on the food in your photograph. So that fluffy cake you just baked will lose its fluffy appeal in harsh lighting. When dealing with shadows, make sure that they are minimal (soft, not harsh), and try to take your photos in a shady area.
Create Contrast
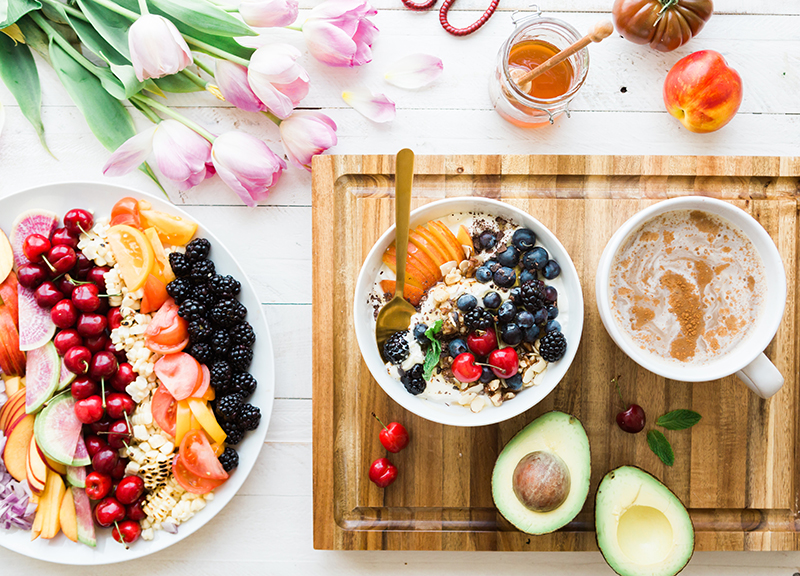
The background that you are photographing the food on also plays an important role in your composition. The right colored plate and tablecloth can really make the meal pop. As a rule of thumb, darker food looks better on a light background and vice versa. Try using a clean white plate with a neutral colored table cloth. Setting up your still life on a surface with a nice wood grain will give your photo a rustic feeling. Using a crisp white table cloth will work as well, just ensure you have proper lighting and have adjusted your camera's exposure settings so that the white areas in your image don't get blown-out. To make your photo more visually interesting, don't be afraid to use a patterned place-mat or to arrange raw ingredients around the table to compliment the meal.
Choose an Angle
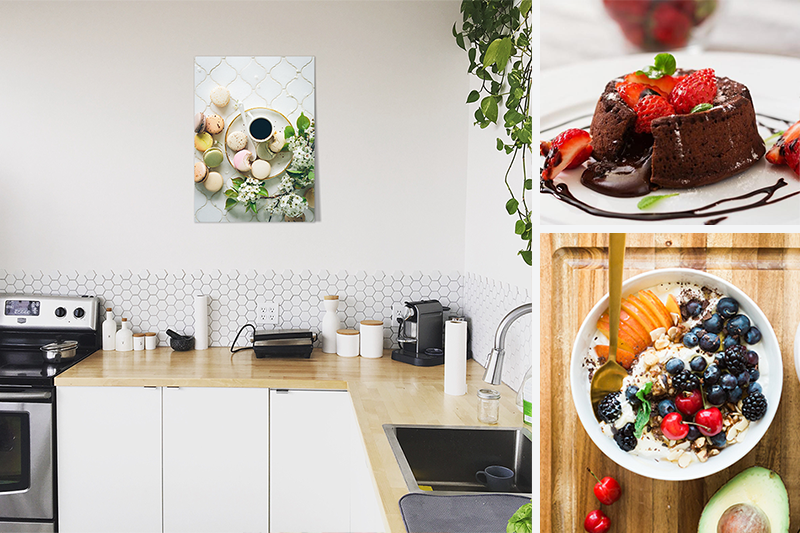
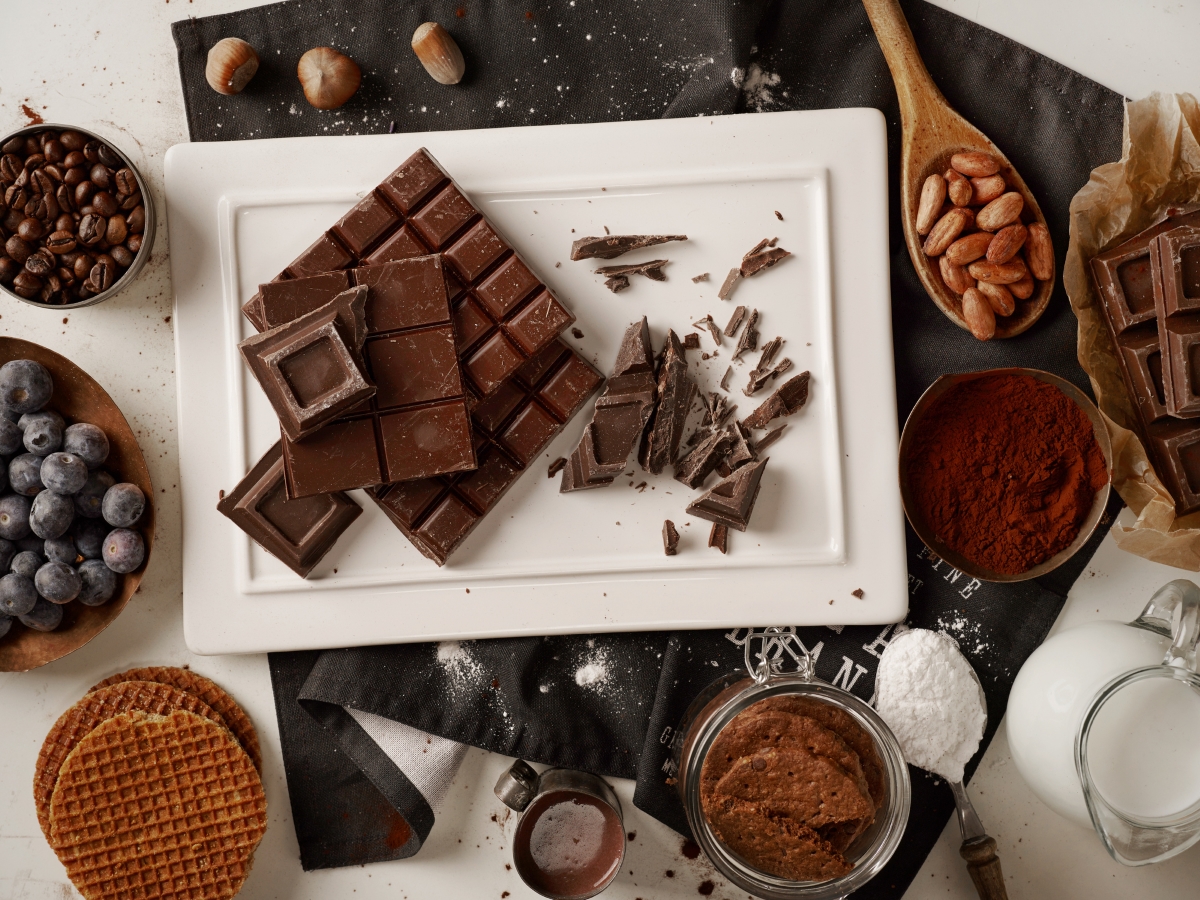
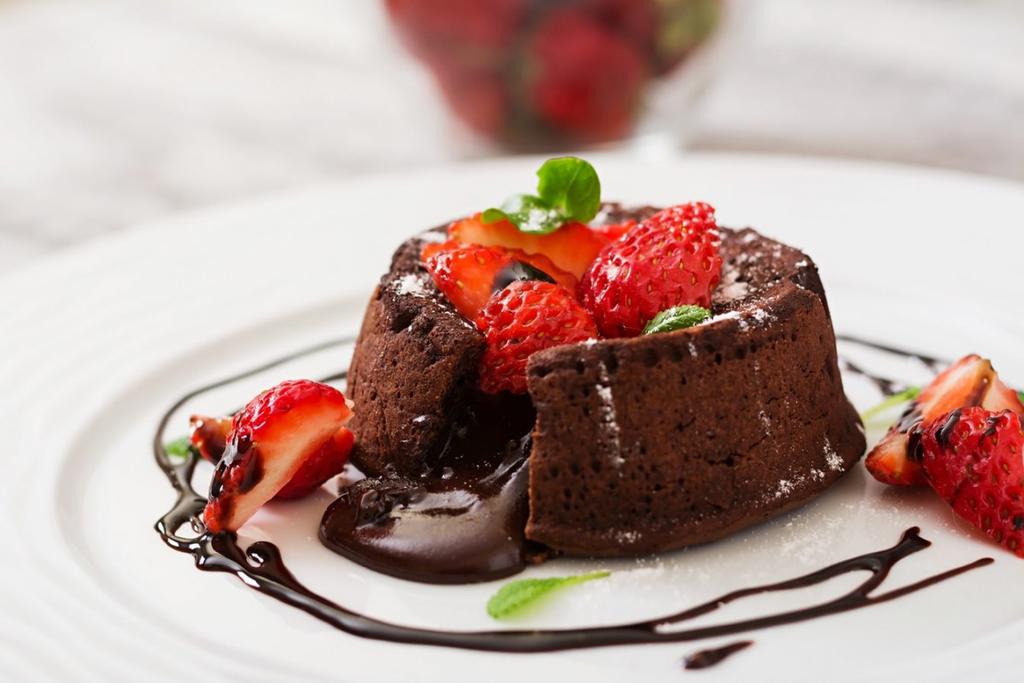
Great shots rely on great angles. Some foods can be more flattering from an overhead point of view, while others may benefit more from a side-angle view. Consider the type of food you're photographing to determine the best angle. For example, take a look at the scrumptious-looking image of chocolate that we have bestowed upon you below. This food photograph benefits best from an overhead point of view. Why? Look at all of those beautiful chocolate details on the top of the chocolate.. the grooves, the indents, the individual pieces.. And not to mention all of the ingredients that are included that frame the chocolate. (We know.. you're thinking, 'Chocolate looks appetizing from any angle. You cannot mess up a photo of chocolate,' but hear us out.) If this chocolate were photographed from a side angle, we would be missing out on all of those fine details that are best seen from above, and we would not be able to fit all of those wonderful ingredients in the frame. On the contrary, you might have just made a layered cake worth photographing. For a layered cake, it might be best to photograph from a side angle so that you can capture a close-up view of each of those wonderful layers. But don't let us limit your creativity with angles! Take multiple photos from different angles and see for yourself which angle compliments the dish best.
Create a Composition
Food styling will help draw attention to the right part of your photo: your main subject. But don't overcrowd your main subject (or dish). When setting up your food display, try not to overfill or overcomplicate the plate. Utilizing the white space and a minimalist approach will bring focus and purpose to your image. Each item in your photo should have a place in creating a crisp composition. You can use cutlery to point the viewer in the direction of the main dish, such as lying the fork on the table so that the prongs point toward your subject (and make the viewer want to pick up that fork and start eating it...)
Pick a Theme
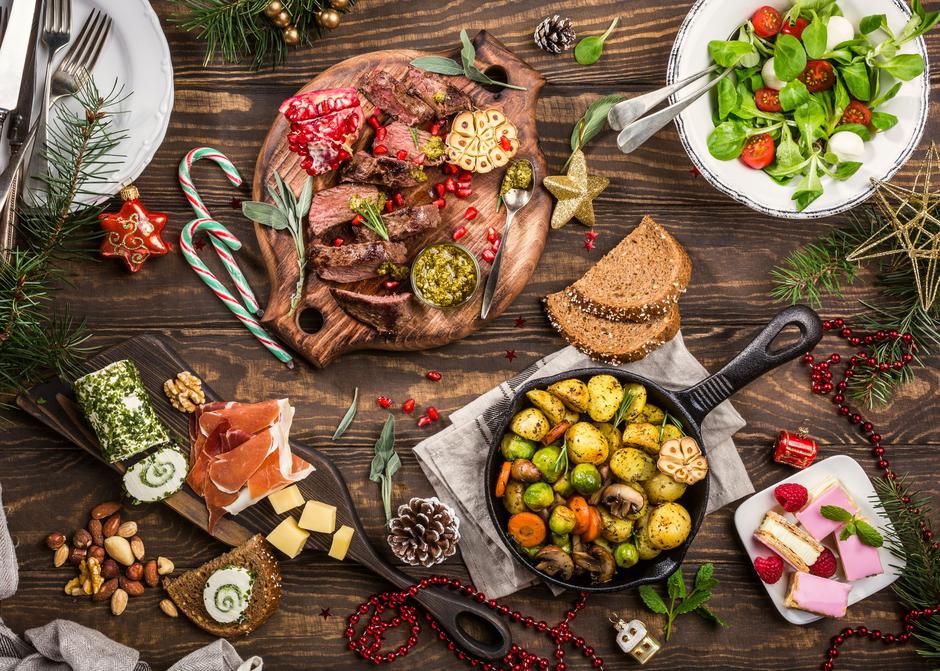
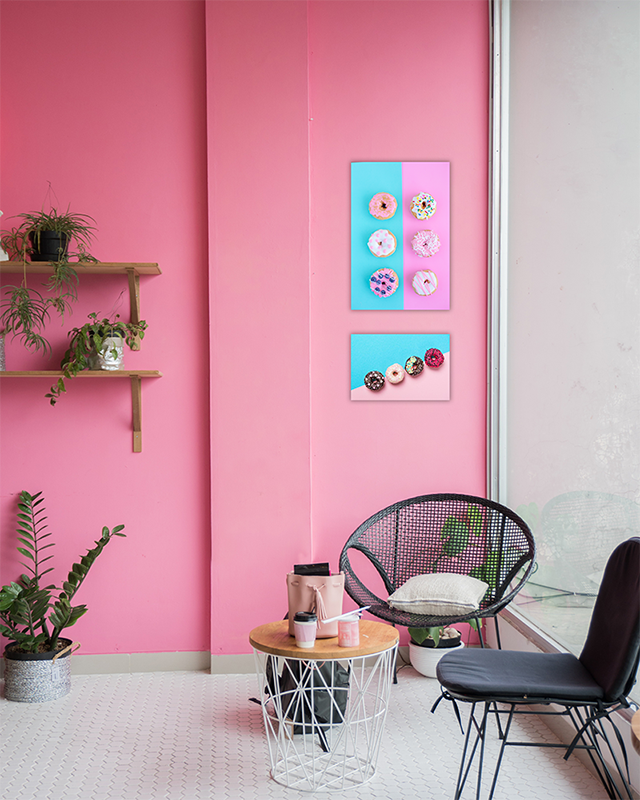
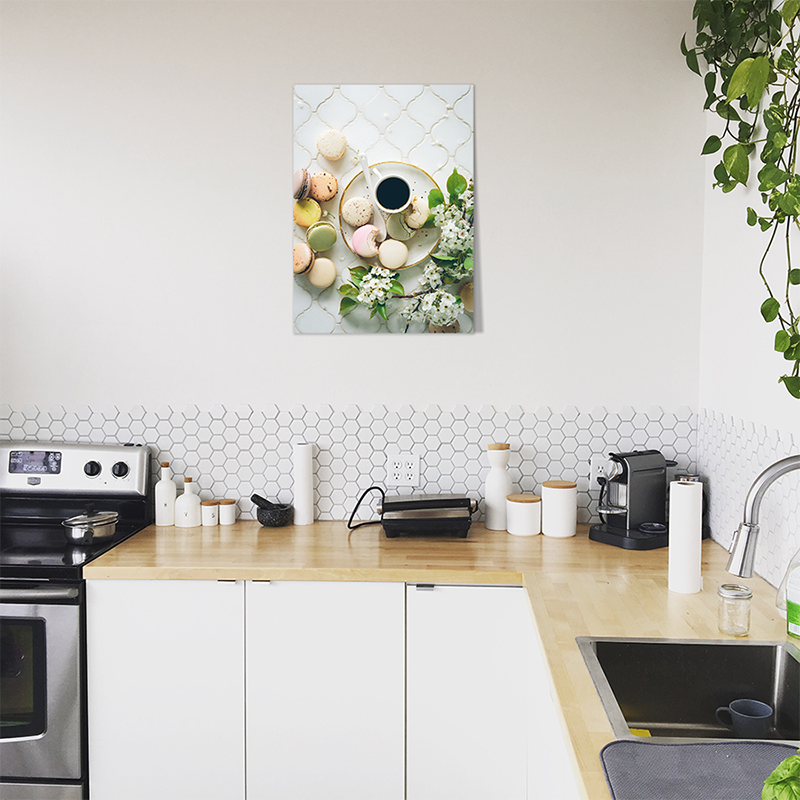
Food photos aren't just about enticing your appetite; they can also tell a story. When telling your food story, pick a theme such as choosing one type of snack or showcasing dishes used for a special occasion. For example, if it's a food that is most often seasonal, such as pumpkin or butternut squash based dishes, emphasize that with fall colors like muted reds, browns, and oranges. Maybe even garnish the tabletop with a few fall leaves. You can feature appetizers, main dishes, desserts, or cocktails. Your food photos don't only have to live on your social media page or iPhone. Consider turning some of them into canvas prints that you can use to decorate your kitchen or breakfast nook. Or if you own your own restaurant or coffee shop, decorate your dining area with prints of your food!
| GET STARTED |